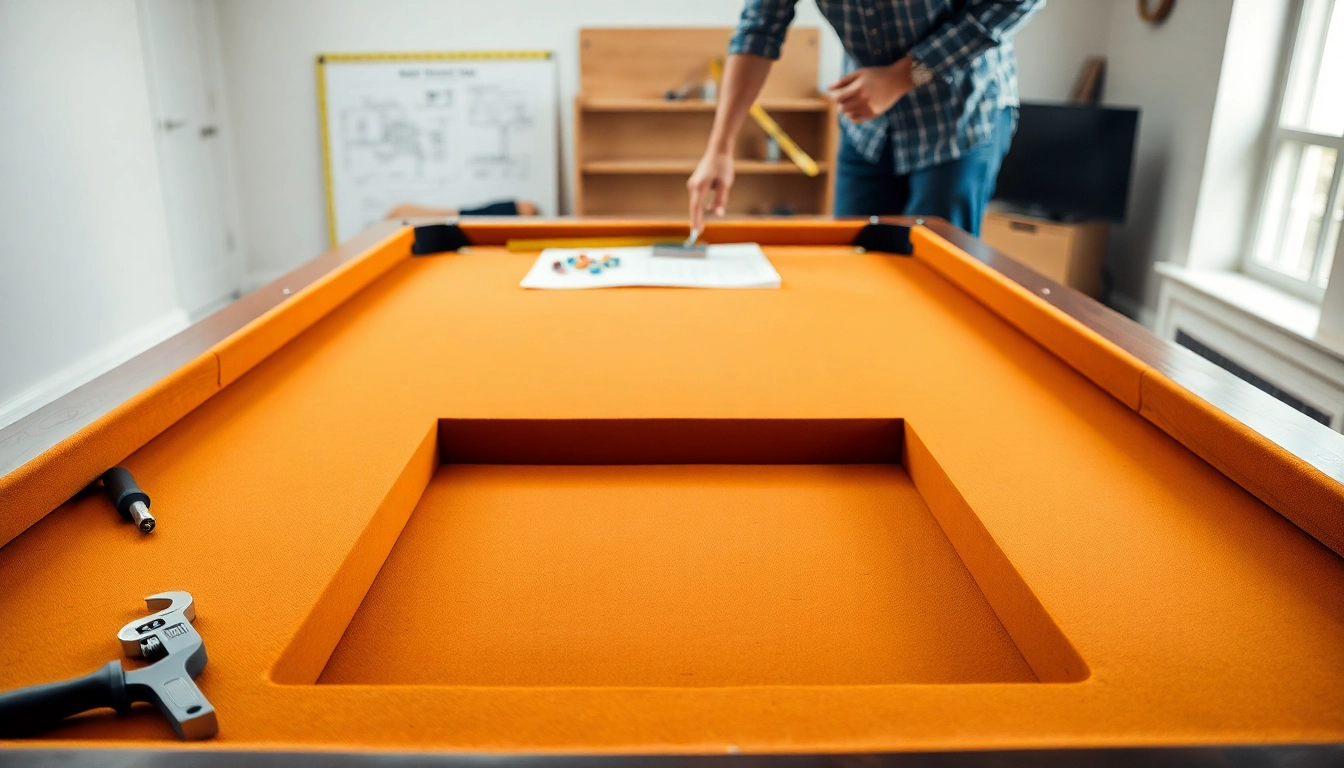
Understanding Pool Table Disassembly
Disassembling a pool table may seem daunting, but with the right knowledge and tools, it can be a rewarding experience—whether you’re relocating it, refurbishing it, or need to replace felt or rubber cushions. Proper Pool Table Disassembly is crucial to ensure that the table can be safely moved and reassembled without damage. In this guide, we will explore the reasons for disassembly, the necessary tools, safety precautions, and provide step-by-step instructions for the process.
Why You Might Need to Disassemble
There are several reasons why one would need to disassemble a pool table:
- Relocation: Moving a pool table can be complicated due to its weight and size. Disassembling it allows for easier transportation.
- Repair or Replacement: Over time, the felt or rubber cushions may wear out and require replacement, necessitating disassembly.
- Refurbishment: If you want to upgrade the table for aesthetic improvements, like staining or polishing the wood, disassembly simplifies the process.
- Storage: If you need to store the table for an extended period, disassembling it can save space and protect it from damage.
Tools Required for Disassembly
Gathering the right tools is essential for a smooth disassembly process. Here’s what you will generally need:
- Screwdriver: A Phillips or flat-head screwdriver, depending on the screws used on your table.
- Socket wrench: Necessary for removing bolts on the table's legs and other components.
- Drill: For quickly removing screws if applicable.
- Staple remover: If your table has pockets or coverings attached with staples.
- Pliers: Handy for gripping or pulling small components.
- Blankets or padding: For protecting surfaces and safely moving components.
Safety Precautions During Disassembly
Safety should always be a priority when disassembling heavy furniture like a pool table. Here are some important precautions:
- Wear gloves: To protect your hands from sharp edges and splinters.
- Use proper lifting techniques: When handling heavy pieces, always bend your knees and lift with your legs to avoid injury.
- Have help: It’s advisable to have at least one other person assist you, especially with lifting heavy slate pieces.
- Clear the area: Ensure your workspace is free from clutter to avoid tripping hazards.
- Secure small parts: Use containers to hold screws and bolts, preventing loss and making reassembly easier.
Preparing for Pool Table Disassembly
Assessing the Table Type and Model
Before disassembly, you must first understand your pool table's design, as different models may have unique assembly methods. Research online or refer to the manufacturer's manual if available. Identify if it is a standard table, a drop pocket table, or has a ball return system, as these factors influence the disassembly process.
Gathering Necessary Supplies
In addition to tools, prepare supplies such as:
- Labeling items: Use labels or markers to tag parts and fasteners to ensure everything returns to its designated spot.
- Plastic bags: For screws, bolts, and other small components.
- Camera: Photography can help document how to reassemble the table if forget the order or placement of components.
Choosing the Right Location to Work
Selecting an appropriate workspace is critical. Consider the following:
- Space: Ensure there is enough room to maneuver large components comfortably.
- Flat surface: Disassemble on a flat surface to keep parts steady and organized.
- Ventilation: If working with wood stains or glues, ensure your workspace is well-ventilated.
Step-by-Step Process of Pool Table Disassembly
Removing the Accessories and Pockets
The first step involves taking off any accessories and pockets. Here's how:
- Remove the balls, cues, and chalk from the table.
- If the table has pockets, use a staple remover or screwdriver to detach them from the rail.
- Set pockets aside in a safe location.
Detaching the Rails and Slate
Next, you will need to disassemble the rails and slate:
- Using your screwdriver or wrench, unscrew the bolts or screws holding the rails in place.
- Carefully lift the rails away from the table.
- The slate (the heavy top of the table) might be glued down or secured with screws—unscrew or detach these, then safely remove the slate. Use a buddy system to manage weight and ensure safety.
Disassembling the Table Legs
Finally, disassemble the legs:
- Check for bolts or screws securing the legs to the table frame.
- Once unscrewed, gently wiggle the legs to separate them from the table.
- Store the legs in a stable location to avoid any damages.
Common Challenges During Pool Table Disassembly
Dealing with Stubborn Screws and Bolts
It's common for screws and bolts to get rusted or stuck. To overcome this, use penetrating oil and let it soak for a few minutes before attempting removal. A screw extractor may also be helpful for severely stripped or damaged screws.
Handling Heavy Slate Pieces
Slate pieces are heavy and can be cumbersome to manage. Always lift with help, or slide them carefully using blankets. Take time to rest during removal and don’t rush through this process to prevent injury.
Maintaining Level Surfaces
Keeping all components level during disassembly is essential to avoid bending or breaking any part. Always work on a flat surface and ensure that items are not stacked on top of each other.
Reassembling Your Pool Table After Disassembly
Steps to Follow for Reassembly
Once you are ready to reassemble the table, follow these steps:
- Starting with the legs, attach them back to the main frame first.
- Replace the slate and secure it based on how it was previously installed, ensuring it’s aligned correctly.
- Add the rails back to the table, securing them tightly.
- Reattach pockets and any additional accessories you removed.
Tips for Ensuring Levelness
To ensure your pool table is level after reassembly, use a level tool:
- Check all sides of the slate to ensure it is perfectly horizontal.
- If necessary, adjust the legs or use shims to achieve proper leveling.
- Regularly check the levels in different areas as you perform reassembly.
Final Checks Before Usage
Before you resume playing, conduct a final check:
- Make sure all screws and bolts are tightened.
- Look for any parts that may appear misaligned.
- Check the surface of the table for any wrinkles or imperfections in the felt.
Frequently Asked Questions
How long does it take to disassemble a pool table?
Disassembling a pool table typically takes about 2-4 hours, depending on the table type and your experience.
What tools do I need to disassemble a pool table?
You will need a screwdriver, a socket wrench, a drill, pliers, and a staple remover. Protective gloves are also recommended.
Can I move a pool table without disassembling it?
It's not advised to move a fully assembled pool table due to its weight and risks of damage. Disassembly is the safest option.
Should I hire a professional for disassembly?
If you're unsure about the process or feel uncomfortable with heavy lifting, hiring a professional is a great choice for safety and efficiency.
What are common mistakes during pool table disassembly?
Common mistakes include not labeling parts, forgetting to secure heavy slate pieces, and rushing through the removal process. Take your time for the best results.